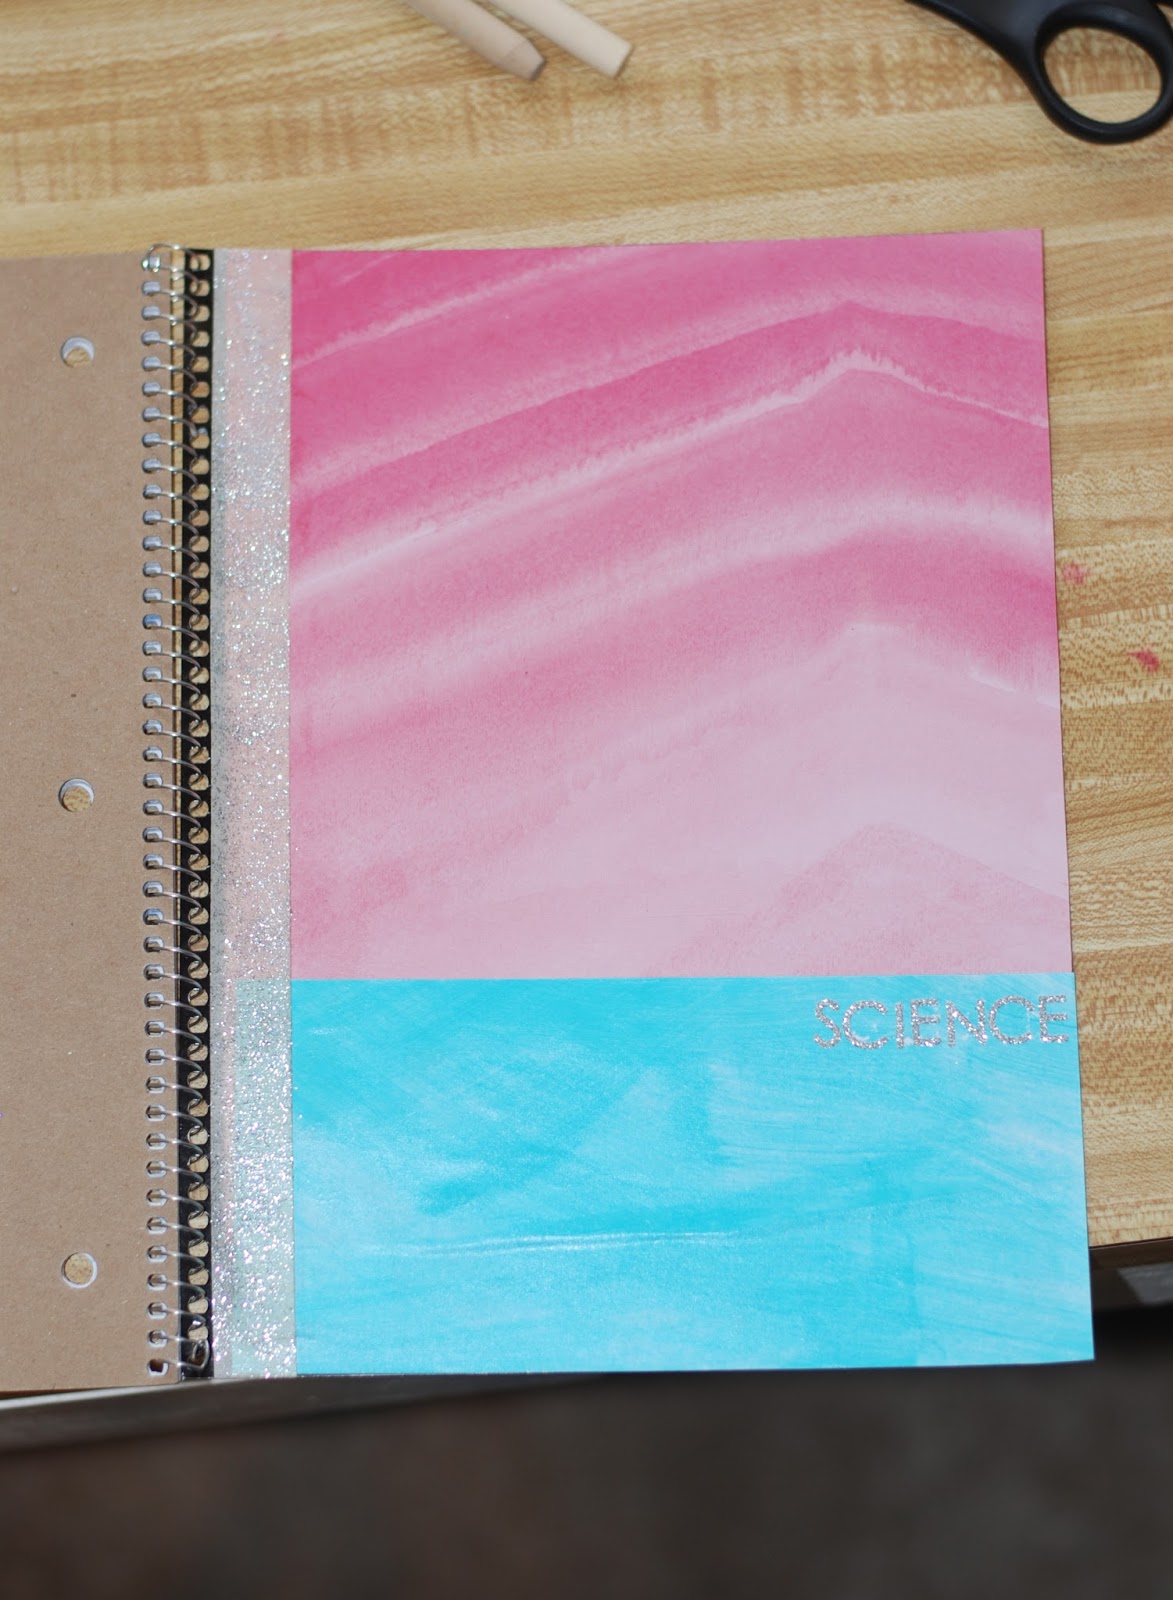
This collage is so colorful- you know it's going to be a fun post ;)

Hey girl!
Today I'm excited to share 3 fun DIYs- back to school supplies! These are my favorite kind of DIYs because I use them everyday during school. They're all totally customizable, so make them with your favorite papers and colors! I hope you get good use out of these! ♥

DIY Scotch Tape Dispenser
 Start by removing the roll of tape and the original paper liner that comes in the dispenser.
.
 Now, trace the liner on the paper you've chosen.
I had a super cute pink paint that I wanted to use. So I cut on white paper so I'd be able to paint to the paper, and end up with a pink paper. I know that's confusing... sorry about that! Just use whatever patterned paper you want to!
 Now cut out the tracing.
 And the circle in the middle...
 Place your new lining and the roll of tape back in the dispenser.
 Here's the finished product once I had painted the paper
- - - -
Supplies:
- Scotch Tape with Dispenser
- Patterned Paper of your choice (I used plain white paper, and painted it pink- I explain more below)
- Scissor
- Pencil

.

I had a super cute pink paint that I wanted to use. So I cut on white paper so I'd be able to paint to the paper, and end up with a pink paper. I know that's confusing... sorry about that! Just use whatever patterned paper you want to!


- - - -

DIY Paper Clips/Bookmarks
 |
Supplies
|

Start by cutting a piece of washi-tape about 2 inches long. Slip the tape through the paper clip like shown above.

Now fold the tape over so it sticks to itself.

It should look like this.
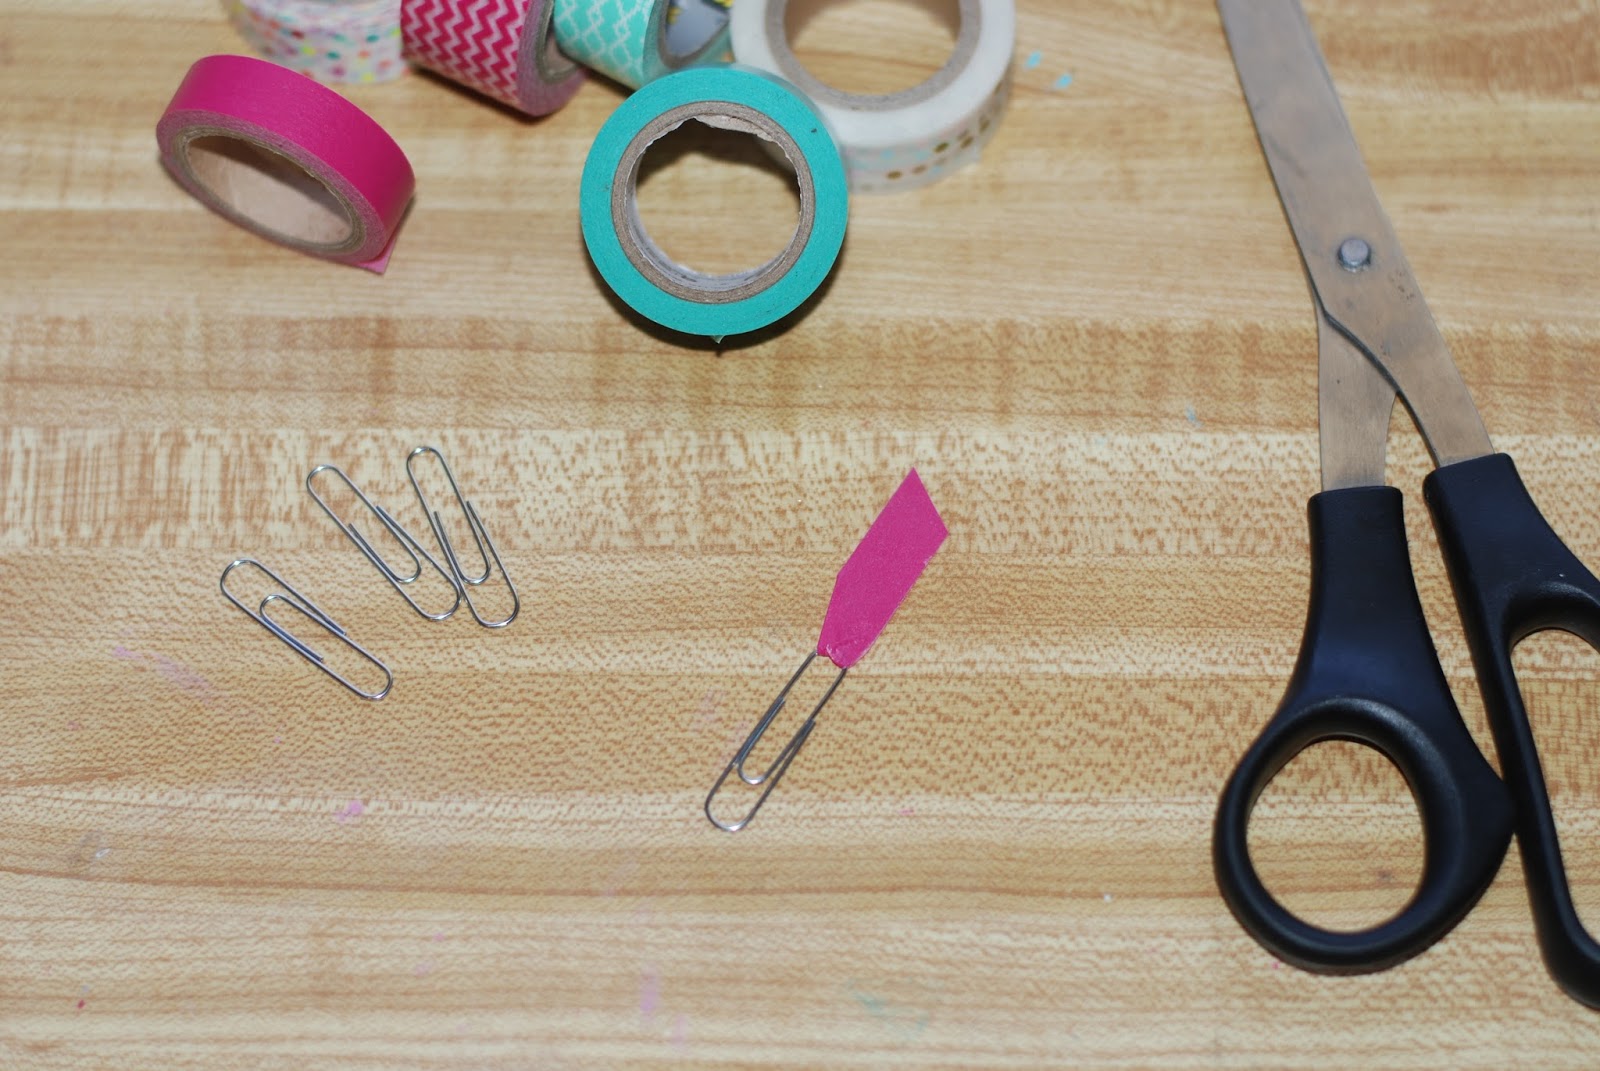
Now trim the tape to the length you like. I think it looks neat cut at an angle.

Ta-da! These are great as bookmarks for your planner or textbooks!
- - - -

DIY Pencils
 |
Supplies:
|

Measure out a strip of tape that is the same length as the pencil. You'll need to do this twice, so you will have two strips.

Take the first strip and carefully stick it to the pencil.

Now, wrap the tape around the pencil, like shown in the picture above.

- - - -
DIYs are my favorite thing about back to school. Having bright and fun supplies makes me actually want to use them! I hope you try these out! Let me know if you do!
Vote below what I should post next!
[-Recipe -DIY -Fashion]
DIYs are my favorite thing about back to school. Having bright and fun supplies makes me actually want to use them! I hope you try these out! Let me know if you do!
Vote below what I should post next!
[-Recipe -DIY -Fashion]
♥Katie