
I always get so excited when I get a new notebook for a subject in school, because that means I can decorate it! I've never decorated two notebooks that ended up at all similar, but that's the fun of it! Today I got a new notebook to keep science notes in, so I DIY'ed (that is a real word right?!) a new colorful cover for it. In this post I'm giving you some ideas for decorating your own notebook by showing what I did! So here we go!

~ DIY Notebook Cover ~
Supplies - whatever you want! There really isn't a simple list of supplies for this project- it's totally up to you what you use to decorate! Here is a list of the things I used:- Scissors
- Mod Podge, glue stick, or some other kind of adhesive
- Decorative Paper
- Acrylic Paint
- Masking tape (I would have used washi-tape, but I ended up having to substitute masking tape instead. I'll explain why/how below.)
- Stickers

First, open the cover of your notebook so it's lying on top of your background paper. Now trace around the edge of the cover.

Close the cover, than cut out the tracing. Now you you have a piece of paper the size of your notebook.

My paper was actually a tiny bit too short, but I knew I was going to add a piece of paper across the bottom anyway, so it didn't really matter.

Now for my blue piece of paper to go across the bottom. Luckily for me there are no rules when it comes to using your creativity for crafting. :D I have a bottle of acrylic paint that I think is the most beautiful color ever. So I decided to try something a little different, and color a piece white paper with the paint, to get a beautiful piece of blue paper!

The paint warped my paper a little bit, but it really turned out pretty good!

I'm using Mod Podge to adhere my papers onto the cover of my notebook. Any kind of craft clue, or a glue stick will work too.

Apply the Mod Podge to the back of your paper, using a foam brush.

Adhere the to your cover. *TIP* When gluing onto the front of a notebook. Always open up the cover before gluing onto it to avoid gluing any pages together*

Next, I cut my blue paper down to the size I wanted. Then glued it on the same way I did the pink paper.

I wanted to put a piece of washi-tape down the side of the cover. But I couldn't find a color of washi-tape that I liked with the pink and blue. So I ended up painting a strip of masking tape with acrylic paint. To get a silver glittery strip of tape!

Then I stuck it along the inside edge.
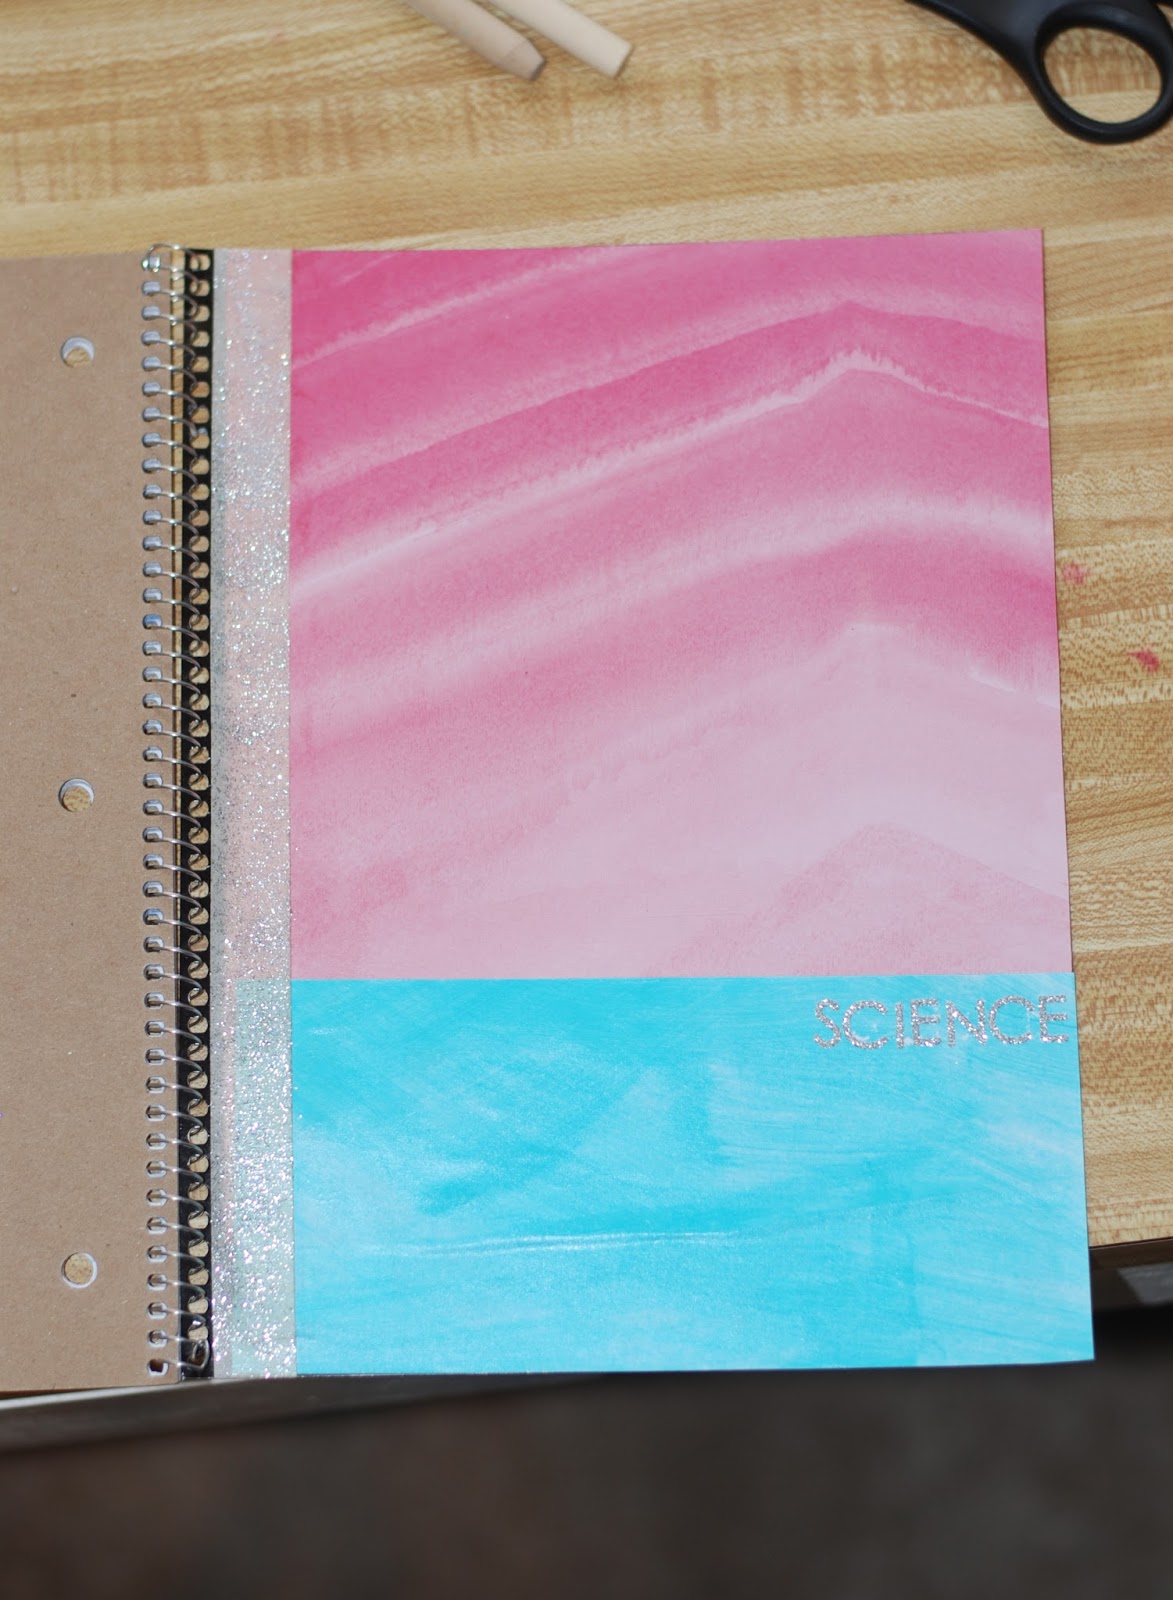
The last addition to my notebook cover were these glittery stickers to spell out the subject I'll be using the spiral for. I love how simple and pretty it looks right on the edge of the blue!

Ta-da! From a plain black notebook, to a bright glittery one with my two favorite colors!
No two notebooks I've decorated have ever turned out the same! If you try this, I'd love to see the design that you come up with! You can find the information to send a picture to me, on the contact page. I hope you do! 'Till next week! ♥Katie
I LOVE this! It's absolutely gorgeous! I am TOTALLY doing this to some of my notebooks! I've only done it to my one BB notebook!
ReplyDelete~ Light4theLord
https://dollsnall.blogspot.com
Aw, thank you! I'm glad you liked it! Having a cute notebook makes me so much more excited about school. :) I'm glad this post made you want to make another one of your own! That's my goal! :)
Delete♥Katie