Slide

Friday, January 27, 2017

100 Things I'd Rather Hold {Than A Phone}

One of my new years resolutions this year, is to spend less time looking at a screen and more time outside, or doing other "non tech" activities. :) Last week I read Grace Anne's, blog post '100 Things I'd Rather Hold {Instead of My Phone}'. I thought it was such a neat idea! So today I'm writing my own list of 100 things I'd rather hold than a phone.

Thank you Grace, for letting me use this idea! You can find her post here.

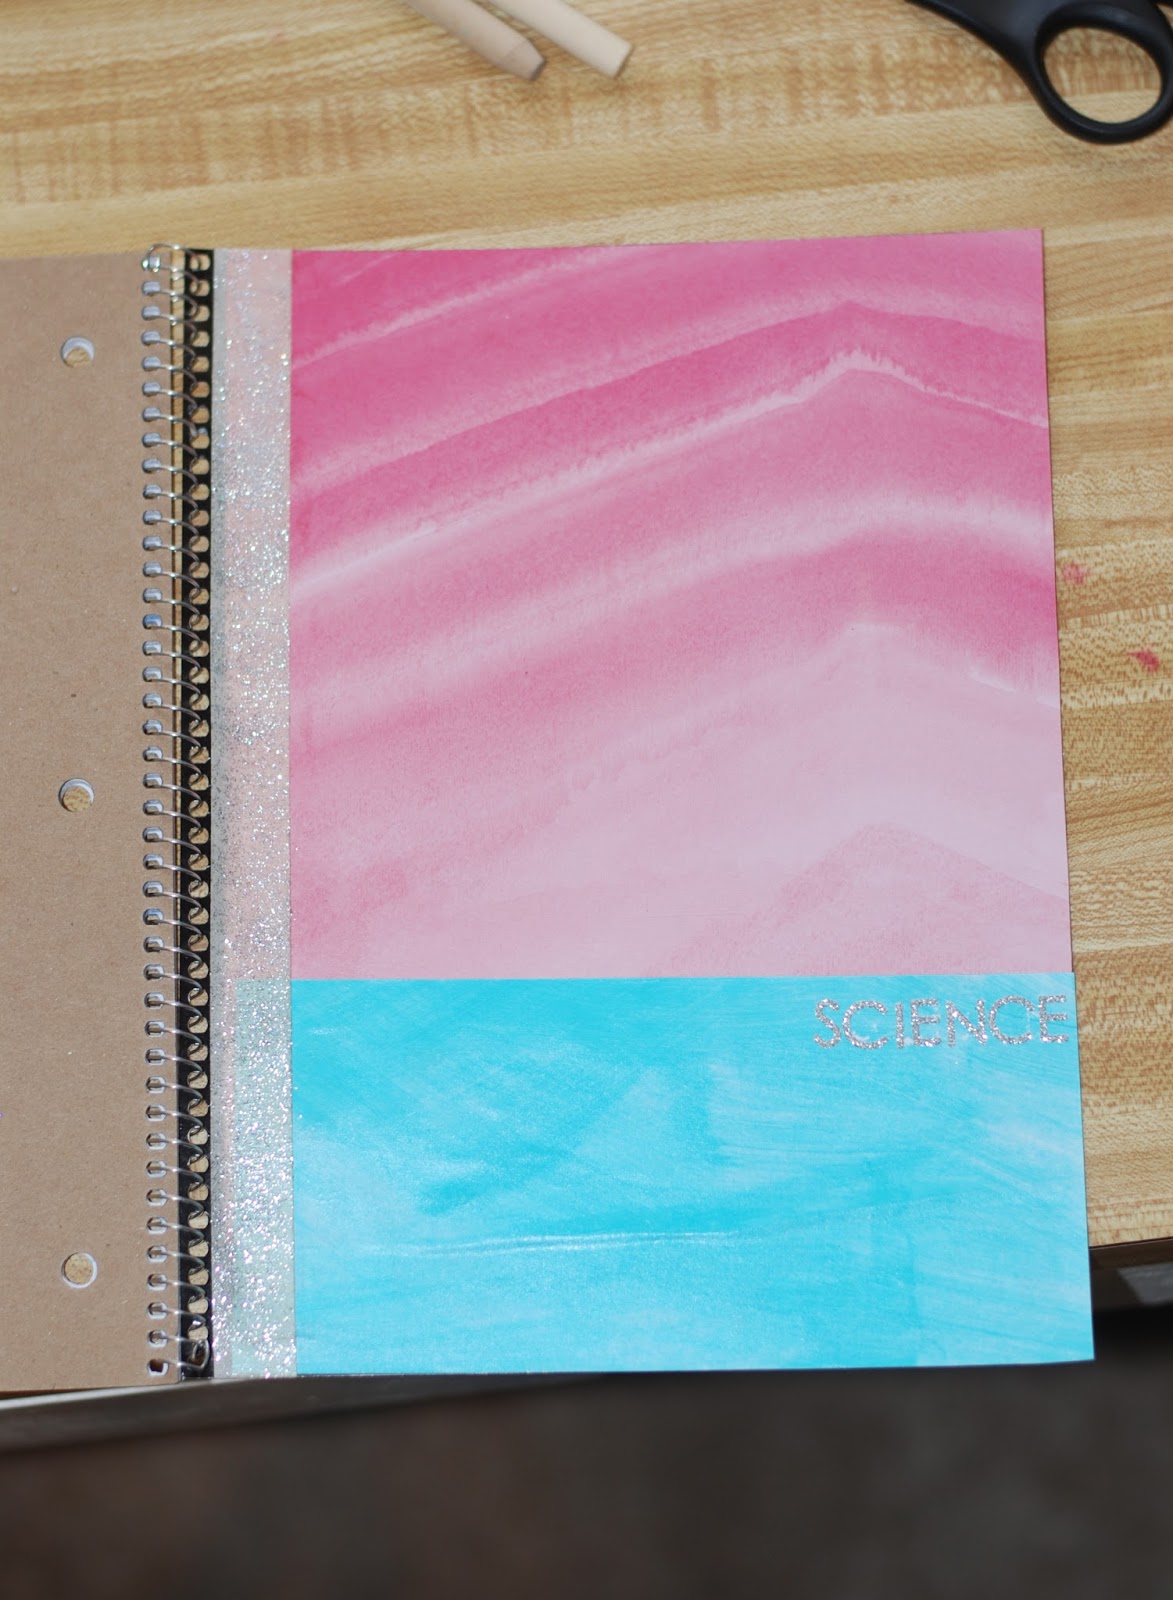
Picture @HeleneInBetween

100 Things I'd Rather Hold {Than A Phone}

  1. My Bible
  2. My prayer journal
  3. My planner
  4. My favorite erasable pen 
  5. Photo albums
  6. My favorite mug full of hot chocolate
  7. Washi-tape
  8. A music book to play on the piano
  9. Yarn and a crochet hook
  10. A package of colored pens or markers
  11. A chocolate chip cookie
  12. A bottle of nail polish
  13. A letter from a friend
  14. A bowl of frozen yogurt
  15. Erasable highlighters
  16. My rainbow loom
  17. My breath as I swim underwater :D
  18. A stack of good books
  19. My niece 
  20. My other niece :)
  21. An icing bag as I decorate cupcakes
  22.  A volleyball
  23. Card supplies
  24. A new sticker set for my planner
  25. Handle bars while I go an a bike ride
  26. A container of tacks to hang things on my cork board
  27. A Rubik's cube
  28. Colored pencils as a color an adult coloring book
  29. A snowball
  30. My Bible Bee verse cards 
  31. A foam brush as I paint something with acrylic paint
  32. Dutch Blitz cards
  33. A glass of sweet tea 
  34. My favorite notebook
  35. A lighter as I light my candle
  36. A ping pong paddle 
  37. An awesome mystery book
  38. A cupcake
  39. A stick with a marshmallow, roasting over a fire
  40. String lights
  41. A camera
  42. A paddle as I kayak down the river
  43. A bowl of popcorn
  44. A good history book 
  45. My fuzzy zebra blanket
  46. A popsicle
  47. A rope as I swing into the water
  48. Play Dough
  49. A wooden spoon as I make dessert
  50. Old pictures
  51. A fishing pole
  52. A new pad of colorful card-stock 
  53. A basketball 
  54. A pair of sunglasses at an airshow
  55. A water balloon
  56. My binder full of sheet music
  57. A vase of flowers
  58. An Adventures in Odyssey album
  59. A Reese's peanut butter bar
  60. A stack of sticky notes
  61. A distress ink stamp pad
  62. My hair as I attempt to learn a new hair style
  63. The throw pillows in my room
  64. A stack of blankets as a make a cave with my sister
  65. Cookie cutters
  66. A flashlight as I play German Spot Light with friends
  67. A water bottle as I'm hiking
  68. My nose as I jump into the water
  69. A tennis racket
  70. My violin
  71. A handful of darts as I attempt to beat my brothers :)
  72. A pencil as I play running-pictionary  
  73. A rolling pen 
  74. Our home phone (:D) as I talk to a friend that lives hundred of miles away 
  75. China dishes as I set the table for a holiday
  76. Christmas ornaments as I decorate the tree
  77. A paint brush
  78. A piece of paper and pen as I write a letter to my friend
  79. A kite
  80. My flip-flops as I run across the beach
  81. A needle and thread as I embroider
  82. My watercolor set 
  83. A hiking map
  84. My rip-stick
  85. A baseball bat
  86. A deck of cards
  87. Tent poles as we set up camp
  88. A new music book
  89. My tennis-shoes
  90. A bottle of sprinkles
  91. New yards of fabric
  92. A beach ball 
  93. A brownie
  94. A baseball cap 
  95. Paint chips 
  96. A rodeo ticket ;)
  97. Pineapple
  98. My favorite hoodie
  99. A bouquet of flowers 
  100. Lastly- lets go with pizza!
Whew! That was 100! I really enjoyed making this list! I'll definitely be coming back to it throughout the year, to see what small things I treasure and should treasure more!
So tell me- What would you rather hold? 

I'd love to hear some of the things you would rather hold! Comment below!
♥Katie

Tuesday, January 24, 2017

Homemade Pizza Dough

Most everyone knows that pizza is a very popular (and delicious) food. But did you know it's also super easy to make?! At least this recipe is, I have tried others that take a lot longer, and are a lot harder. But this dough recipe is just five ingredients you can whip up real quick!

~ Homemade Pizza Dough ~

Ingredients
  • 3/4 cup warm water
  • 1 scant teaspoon yeast
  • 2 cups flour
  • 3/4 teaspoon salt
  • 3 tablespoons olive oil

Combine the yeast and warm water in a small bowl. Allow it to sit for 10 minutes.
Meanwhile, add the flour to the bowl of an electric mixer. 
Sprinkle in the salt.
Turn the mixer onto low, then slowly pour in the olive oil.
Finally, pour in the yeast/water mixture.
Stop mixing when everything comes together. 
Transfer the dough to a lightly oiled bowl and cover with plastic wrap. Allow the dough to rise 1 hour before using.
  • The dough can be stored in the fridge for several days before using. 
  • The recipe may be doubled or tripled depending on the quantity you need. (In the pictures above I tripled the recipe.)
- - - - - - - - - - -

    When your ready to make the pizzas just roll 'em out,

     add your favorite toppings,
    and bake until they're just how you want 'em! YUM!! 

    - - - - - - - - - - -
     This is my definitely favorite pizza crust I've tried. It's so simple, so good, and so foolproof! You can double or triple the recipe to make as many pizzas as you'd like. I hope you try it!
    ♥Katie

    Friday, January 20, 2017

    Friday Favorites // Favorite Planner Accessories

    Today we're starting a new "series" on the blog! I'm super excited for this- it's called 'Friday Favorites'! Every now and then on a Friday, I'll post about a few of my favorite things. These lists will usually have a theme. Today, for the very first Friday Favorites post, the theme is planner accessories!


    New year, new planner. This year I'm using the Create 365 The Happy Planner, by 'Me & My Big Ideas'. I absolutely love this planner, it works great for me! Today I'm going to share with y'all my favorite planner "accessories" I use. Here we go!


    Erasable Pens  I use erasable pens for basically everything I write. I'm so glad I discovered them. The pens I use are called 'Pilot FriXion' erasable pens. You can find them on Amazon here. I also found them at my local Walmart, but I'm not sure that all Walmarts carry them. 'Pilot FriXion' also sells erasable highlighters. I use these a lot when I'm memorizing scripture. It's helpful to highlight were I messed up every time I review a verse, and that way when I read it over again, it stands out, making it easier for me to remember the next time I try to recite it!


    Sticky Notes  I love using sticky notes in my planner. They add a lot of color, and a colorful planner is way funner to use in my opinion. And what good does a planner do you if you don't use it?! :) Sticky notes also make something pop out on a page. Plus you can easily move them around, so if I'm not sure what day something's going to happen, I'll write it on a sticky note instead of writing it directly onto the paper. (Though it's easy to erase something and move it to another day with my erasable pen, I'd still prefer not to, if I have the option) 


    Washi-Tape  I use washi-tape every chance I get. And I do mean every chance. Who doesn't love colorful tape that is easy to decorate anything with?! I find my planner as a great chance to use washi-tape! (It's also helpful. :D) A few ways I use it in my planner are...  
    To mark a birthday, or holiday.  
    To mark a vacation, or longer than one day event. Its great for this because you can just roll it along multiple days. (As in the picture above)

    You can find washi-tape cheaper online than in craft stores. Here are a few Etsy shops to check out if your looking into buying some!

    Magnetic Bookmarks  With my happy planner, came two magnetic bookmarks (As well as a few pages of stickers, and a page of sticky notes). I have to admit I had never seen magnetic bookmarks before, but I fell in love at first sight! Bookmarks can be super helpful, but also kind of annoying! At least most bookmarks that I've used. But as you can see in the picture above, magnetic bookmarks are pretty small, and just fit at the top of the page, so you don't have to take them out cause they're in the way, thus you don't forget about them! You can buy them off of amazon here. They also come in most happy planner kits, which is where I got mine.

     - - - -
    Do you use a planner? What are some of your favorite accessories? 

    Tuesday, January 17, 2017

    Fudge Brownies

    Last week I shared my recipe for chocolate chip cookies. This week I'm giving another classic recipe that I use all the time-- brownies!! I think this is the easiest/quickest brownie recipe I've tried! Plus it only uses one bowl (or saucepan technically), so clean up is easy too!
    Ingredients
    • 1 cup butter
    • 2 cups sugar
    • 4 eggs
    • 1 tsp vanilla
    • 2/3 cup cocoa powder
    • 1 cup flour
    • 1/2 tsp salt
    • 1/2 tsp baking powder

     Melt the butter in a large saucepan over medium heat.
     Remove from heat. Stir in the sugar,
     eggs,
     vanilla, cocoa powder, flour, salt, and baking powder.
    Stir it all together.
    When the batter is combined, pour it into a greased 9x13.
    Bake at 350 degrees for 25-30 minutes. Be careful not to over bake.

    Recipe Card
    Download PDF

    I just wanted to note that this recipe makes enough batter to fill a 9x13 in. baking dish, but you can easily half it to make an 8x8. I hope you try this recipe! Be sure to pin it for later if you don't make it now. :) (Isn't Pinterest awesome?!)
    Bye for now! ♥Katie

    Friday, January 13, 2017

    DIY Notebook Cover


    I always get so excited when I get a new notebook for a subject in school, because that means I can decorate it! I've never decorated two notebooks that ended up at all similar, but that's the fun of it! Today I got a new notebook to keep science notes in, so I DIY'ed (that is a real word right?!) a new colorful cover for it. In this post I'm giving you some ideas for decorating your own notebook by showing what I did! So here we go!

    ~ DIY Notebook Cover ~

    Supplies - whatever you want! There really isn't a simple list of supplies for this project- it's totally up to you what you use to decorate! Here is a list of the things I used:
    • Scissors
    • Mod Podge, glue stick, or some other kind of adhesive
    • Decorative Paper
    • Acrylic Paint
    • Masking tape (I would have used washi-tape, but I ended up having to substitute masking tape instead. I'll explain why/how below.)
    • Stickers 
    Some other ideas are washi-tape, ribbon, buttons, stamps or anything else you can thing of! :) So now lets get started! Here's the tutorial for how I decorated my notebook.

    First, open the cover of your notebook so it's lying on top of your background paper. Now trace around the edge of the cover.
    Close the cover, than cut out the tracing. Now you you have a piece of paper the size of your notebook.

    My paper was actually a tiny bit too short, but I knew I was going to add a piece of paper across the bottom anyway, so it didn't really matter. 
    Now for my blue piece of paper to go across the bottom. Luckily for me there are no rules when it comes to using your creativity for crafting. :D I have a bottle of acrylic paint that I think is the most beautiful color ever. So I decided to try something a little different, and color a piece white paper with the paint, to get a beautiful piece of blue paper!
    The paint warped my paper a little bit, but it really turned out pretty good!
     I'm using Mod Podge to adhere my papers onto the cover of my notebook. Any kind of craft clue, or a glue stick will work too.
    Apply the Mod Podge to the back of your paper, using a foam brush.
    Adhere the to your cover.  *TIP* When gluing onto the front of a notebook. Always open up the cover before gluing onto it to avoid gluing any pages together*
    Next, I cut my blue paper down to the size I wanted. Then glued it on the same way I did the pink paper.
    I wanted to put a piece of washi-tape down the side of the cover. But I couldn't find a color of washi-tape that I liked with the pink and blue. So I ended up painting a strip of masking tape with acrylic paint. To get a silver glittery strip of tape!
    Then I stuck it along the inside edge.
    The last addition to my notebook cover were these glittery stickers to spell out the subject I'll be using the spiral for. I love how simple and pretty it looks right on the edge of the blue!
    Ta-da! From a plain black notebook, to a bright glittery one with my two favorite colors! 

    No two notebooks I've decorated have ever turned out the same! If you try this, I'd love to see the design that you come up with! You can find the information to send a picture to me, on the contact page. I hope you do! 'Till next week! ♥Katie


    Monday, January 9, 2017

    DIY Homemade Play Dough

    Today is a DIY day! It's been a few weeks since I've posted a DIY on the blog, so I thought it was high time I did. DIY's are probably my favorite type of posts! I hope you try this tutorial/recipe, for homemade play dough!

    Ingredients:
    • 1 cup flour
    • 1/3 cup salt
    • 1 cup water
    • 1 tbsp vegetable oil
    • 1 tsp cream of tarter
    • few drops food coloring  

    In a saucepan, add the flour,
     salt,
     water,
    oil
     and cream of tarter.
    Turn the burner onto medium/low, and stir the ingredients together. Add the food coloring 
    Stir together.
    .
    It will be lumpy right at first but that's alright. Continue to stir until the dough begins to stiffen up. (About 2 minutes)
     Continue to stir, and soon the dough will pull into a ball around your spoon.
    Remove the dough from the saucepan. You can place it on a plate, or piece of parchment paper to cool. Or just kneed it with your hands. It's pretty fun while it's still warm because it's very soft. ;) Store the play dough in a plastic bag, or an airtight container.

    I hope you try out this tutorial! You can make this in less than five minutes, and cleanup is super easy-- you only have one dish to wash! You can easily pin it for later if you don't try it now! Just hover over the picture, and click the Pinterest icon! 'Til next week! ♥Katie

    Related Posts Plugin for WordPress, Blogger...